
Last updated November 21, 2026
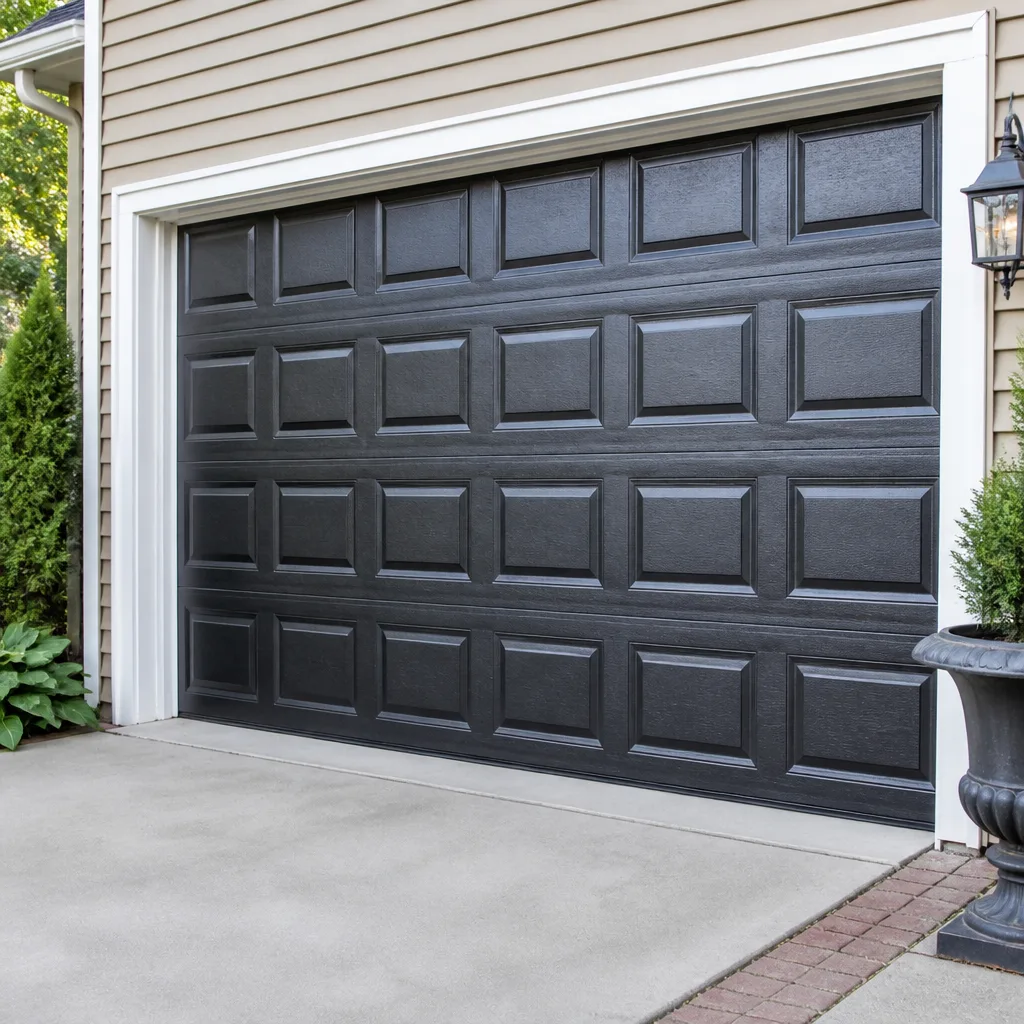 Raised-panel steel
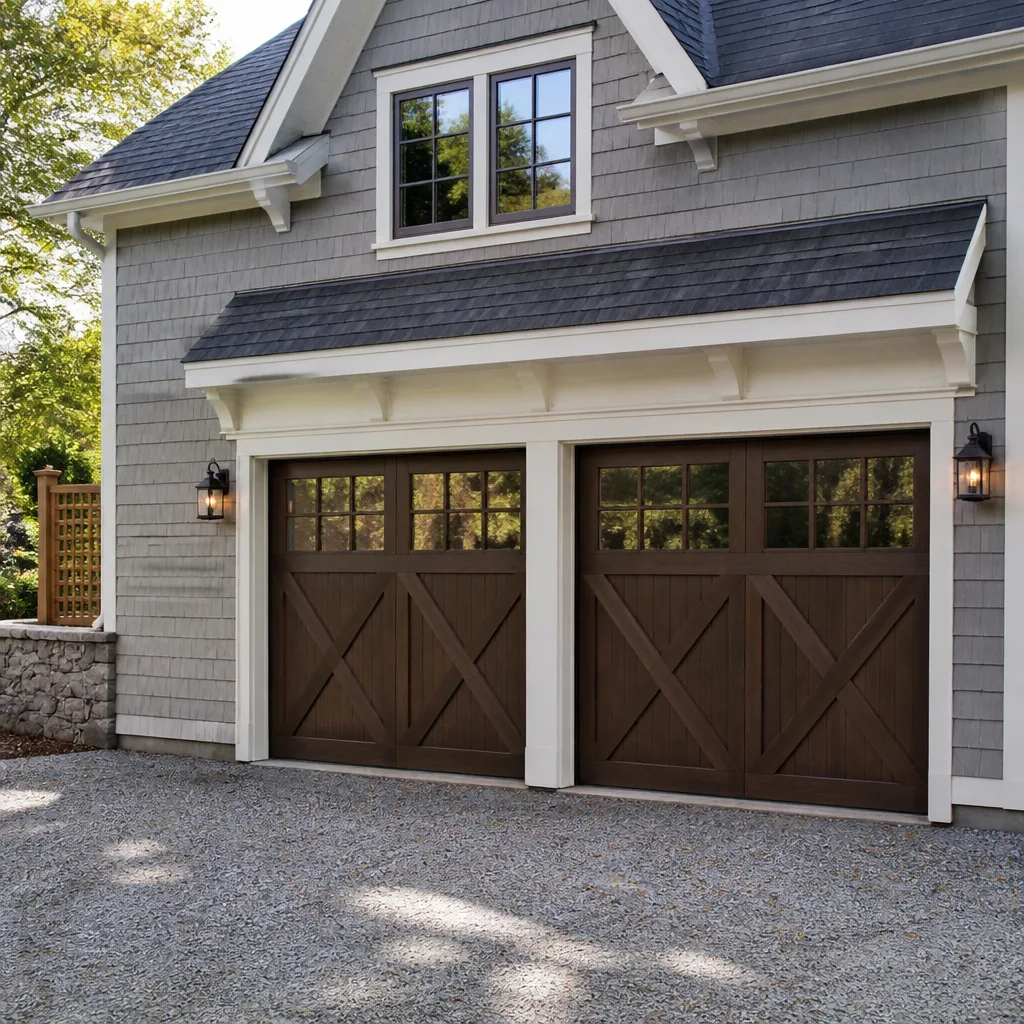 Carriage house
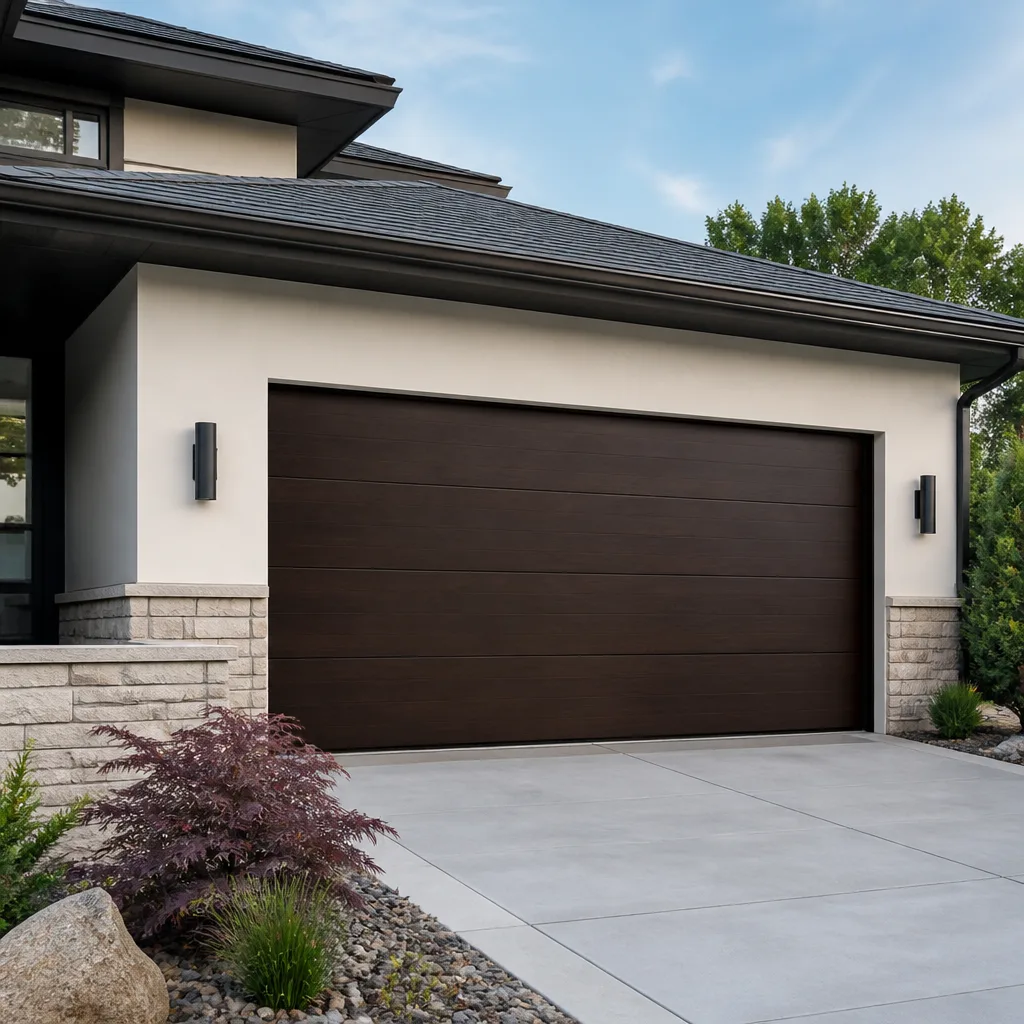 Modern flush
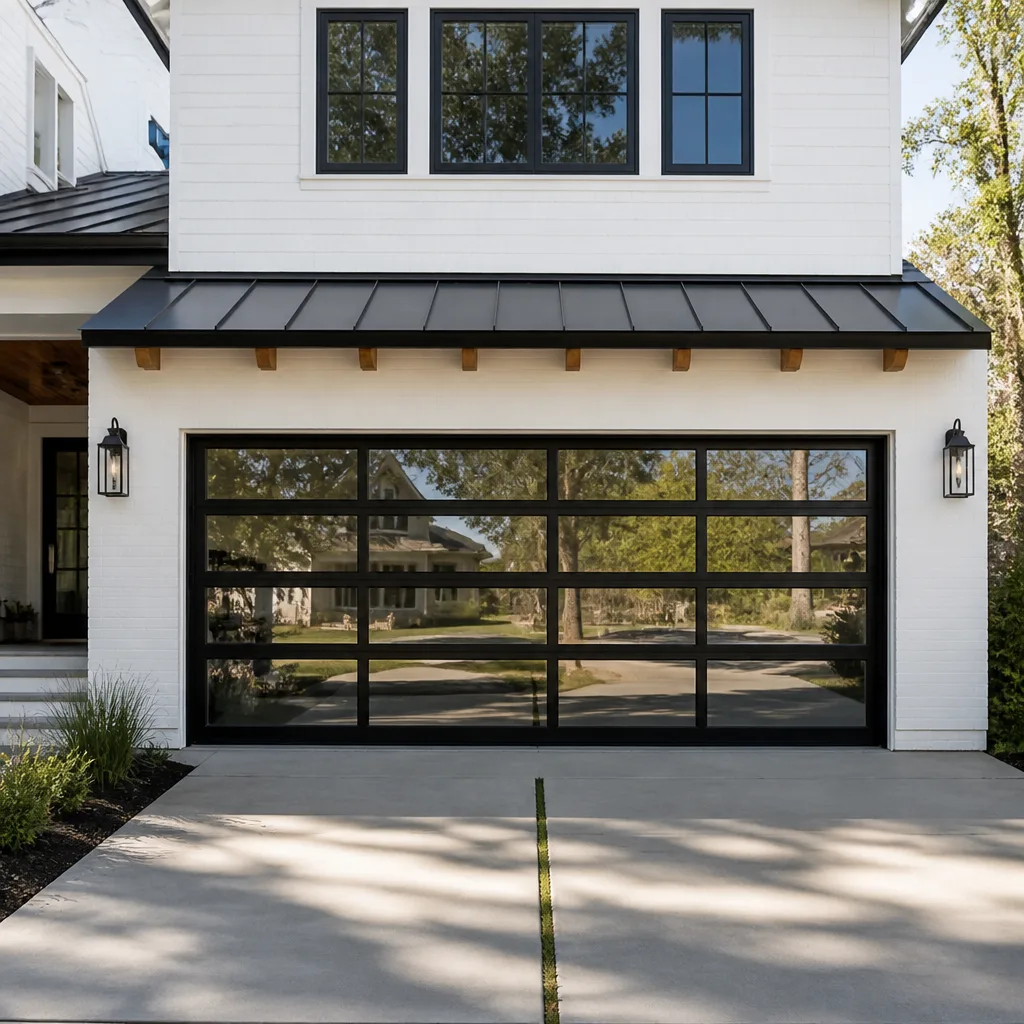 Full-view glass
 LiftMaster openers
 Chamberlain openers
Full 25-point door and opener safety check with every visit - springs, cables, rollers, tracks, and your LiftMaster or Chamberlain opener included
You get a price before we start. It does not change when the pro arrives.
Get your free estimateGarage Door Repair Maintenance Checklist for Flatbush Homeowners
Nine out of ten garage door failures aren’t sudden. There were signs for weeks: a rattle that showed up in November, a door that started closing a little harder, a spring that lost its snap. The problem usually isn’t that Flatbush homeowners didn’t check. It’s that nobody ever told them what “checked” actually means. “Inspect your springs” is not a checklist item worth anything if you don’t know what a worn spring looks like or sounds like. This guide fixes that. You’ll get a task-by-task checklist with real pass/fail criteria, a clear line between what you can safely handle and what needs a technician, and the documentation habits that make a service call faster and a warranty claim easier.
Quick Answer
A working maintenance routine for a Flatbush garage door has four habits: a monthly visual and balance check you can do in ten minutes, lubrication every few months on the moving metal parts only, a sensor and auto-reverse test every month, and a professional inspection on the springs, cables, rollers, and opener once a year. Most of what wears out tells you before it fails, if you know which signals to watch. The one rule that overrides everything: never touch, adjust, or unwind a torsion spring or its cables yourself. Those parts hold enough stored force to injure or kill.
Styles & brands we work with
- Raised-panel steel
- Carriage house
- Modern flush
- Full-view glass
- LiftMaster openers
- Chamberlain openers
Table of Contents
- What “Normal” Actually Looks, Sounds, and Feels Like
- The Monthly Ten-Minute Checklist
- Springs and Cables: The Parts You Watch, Never Touch
- Testing Auto-Reverse and the Safety Sensors the Right Way
- A Maintenance Schedule Built for Flatbush Conditions
- What You Can Safely Clean and Lubricate vs. What Needs a Technician
- What to Document and Photograph Along the Way
- When to Stop Checking and Call for Help
What “Normal” Actually Looks, Sounds, and Feels Like
Before you can spot a problem, you need a baseline. Most maintenance advice skips this step, which is why so many people walk past a failing door for months without registering it. Here’s what a healthy door feels and sounds like in Flatbush, so you have something to compare against.
A balanced door is quiet and steady. When you disengage the opener and lift it by hand (on a door that allows manual operation – more on that below), it should rise smoothly with modest effort and stay put about three or four feet off the floor. If it sinks to the ground on its own or shoots up fast, the balance is off, and that’s an early sign a spring has lost tension.
Sound matters as much as feel. A healthy door makes a low, steady hum from the opener and a soft roll from the rollers. You should not hear:
- Grinding or scraping. Usually a roller, hinge, or track issue, or dry metal on metal.
- A sharp snap, bang, or clang at the start of a cycle. Often a spring or cable problem. Stop and call.
- A door that jerks or shudders on its way up. Typically a roller or track alignment issue.
- Rattling from the opener unit itself. Loose fasteners or a worn gear in the operator.
Tension on a healthy torsion spring reads as firm and even – when you look at it, the coils should be tightly packed with no wide gaps, no rust flaking, and no obvious bend or sag along the length. Warning-stage slack shows up as a door that suddenly feels heavy, or a spring that looks slightly unwound or sits unevenly. That’s the moment to stop using the door and call, not the moment to reach for a wrench. A garage door specialist can tell the difference in a few minutes.
The Monthly Ten-Minute Checklist
This is the routine you can run yourself in about ten minutes, once a month. It catches most early problems before they turn into a service call or a security gap. Work through it in this order; each step is standalone.
- Look at the door from the outside, closed. Panels should line up, the bottom seal should touch the ground, and there should be no daylight showing underneath or at the sides. Daylight means a seal or alignment problem, and it’s also an entry point.
- Open the door a foot and look at the bottom seal. The rubber flap should be flexible and intact. A cracked or stiff seal lets water, cold air, and street grime in.
- Look at the hinges and rollers from inside. No rust, no bent or cracked rollers, no loose hinges. If a roller feels wobbly, note it.
- Run the door through one full open and close cycle from inside. Listen for new sounds. Watch the door move: it should travel evenly with no side-to-side wobble.
- Do the sensor and auto-reverse test (detailed in its own section below – most people do this wrong).
- Look at the springs from inside. Coils tight, no rust flaking, no visible bend. Do not touch them.
- Look at the cables on each side. They should be straight, taut against the drum, with no frayed strands.
- Check the wall-mounted opener control and remotes. Every button should work; no dead zones.
A pass on all eight means you’re good for another month. One fail gets written down so you can track whether it’s getting worse.
Springs and Cables: The Parts You Watch, Never Touch
This is the section to read twice. Garage door springs and their cables hold stored mechanical energy that can release suddenly and without warning. A torsion spring is under tension every second of the door’s life, whether the door is open, closed, or somewhere in between. When it snaps, it does so with a violent crack and a whipping action. That’s why spring repair is a specialty within garage door work, not a general handyman task.
Your job – the homeowner’s job – is observation only. Here’s what to watch for:
- Visible gaps in the torsion spring coil. A healthy spring has tightly packed coils. Gaps mean it’s stretching or has already partially failed.
- Rust on the spring. A rusty spring weakens faster. It’s a warning, not a crisis.
- A door that suddenly feels heavy, or won’t hold position when you lift it. The spring has lost tension.
- Cables that sag, look kinked, or have any frayed wire strands. A frayed cable is a safety issue because it can fail under load.
- A loud snap, followed by a door that won’t open, or opens crooked. That’s a spring break. Do not run the opener again. Call.
If you find a snapped spring, a frayed cable, or a door that’s dropped, stop. Don’t try to force the door open. Don’t lubricate anything to “see if it helps.” Don’t run the opener – the motor will strain against a door it can’t lift and can damage itself. Call a service that handles spring work as a specialty. Not every generalist does – some won’t touch torsion springs at all. This is where a garage door specialist matters, and where the difference is measurable.
On brand specifics: LiftMaster, Chamberlain, and Genie openers are all designed to detect a door that’s fighting back, and most will refuse to operate a door with a broken spring rather than burn out. But the safety limit is a backstop, not a maintenance strategy. If the door won’t open, the spring failed. Don’t test the opener twice.
Testing Auto-Reverse and the Safety Sensors the Right Way
Most people “test” their sensors by walking through the beam and calling it a pass. That’s only half the test. There are two safety mechanisms on every modern door, and they’re checked differently. Getting a false pass because you tested wrong is one of the most common reasons a door hurts someone it shouldn’t have.
The photoelectric sensor test (the beam)
- Find the two sensors. They sit on the ground at each side of the door, each with a small light. Both lights should be solid green or amber, not blinking.
- With the door open, wave an object through the beam. A closed umbrella works. The door should refuse to close, or reverse if already closing.
- Now walk into the beam and stand there while you press close. The door should not close. If it does, the sensor is misaligned or failed and needs immediate attention.
- Check the ceiling-mounted opener indicator. On LiftMaster and Chamberlain units, a blinking light pattern signals an alignment fault. A solid light means both sensors are communicating.
The mechanical auto-reverse test (contact)
- Lay a flat object – a piece of wood or a broom handle – on the ground under the center of the door. Use something two inches or so thick.
- Press close on the wall control.
- Watch for the door to reverse direction when it meets the object. If it pushes the object or keeps going, the auto-reverse is failing.
- Test again on the side seams. The same object on each side of the door should trigger the same reversal.
Both must pass. A sensor that shows green but doesn’t reverse is a partial failure, and it’s the one most people miss because the light looks normal. If the door fails the contact test, stop using it until a technician checks it.
A Maintenance Schedule Built for Flatbush Conditions
A generic checklist doesn’t help if it ignores where the door actually lives. A Flatbush garage door deals with a particular mix: cold winters with hard freezes, hot and humid summers, and street-level grime kicked up by traffic on the main blocks and side streets alike. Flatbush’s proximity to the coast means the air carries some salt content on certain wind days, which is a real thing on hardware. So the schedule varies a bit from a checklist written for a dry climate.
Here’s how the tasks line up across a Flatbush year:
Every month, year-round
- Visual check of the door from the outside and inside.
- Full open and close cycle from inside.
- Sensor and auto-reverse test.
- Lubricate hinges and rollers if the season is wet (spring through fall in Flatbush).
Before the first freeze (October-November)
- Lubricate hinges, rollers, and lock hardware. Cold stiffens everything.
- Test the opener’s force adjustment – a stiff door in winter puts extra load on the motor.
- Check the bottom seal; a worn seal lets in cold air and moisture that freezes overnight.
- Clear and clean the tracks; grit frozen into the track causes jams.
Before summer (April-May)
- Full lubrication pass on hinges, rollers, and springs (only the spring coils themselves, with a proper spring lubricant – not on the cable).
- Check for rust, especially on any hardware exposed to salt air on a windy day.
- Wipe down the opener’s photo-eye lenses on both sensors; street grime builds up fast in Flatbush.
Once a year (any season)
- Professional inspection of the springs, cables, and opener. This is the checkpoint that catches wear before it becomes a failure.
- Adjust the door balance and re-check the opener’s force and travel limits.
- Rebalance the tracks and hinges.
If your garage is on a ground-level box facing the street, expect more grime on the track and sensors than a driveway set back from the road. Plan to wipe the sensors a little more often; it’s the difference between a false alarm and a real diagnosis.
What You Can Safely Clean and Lubricate vs. What Needs a Technician
Here’s the line, clearly. You can handle the parts that move under low load and don’t store energy. A technician handles anything under tension, anything the door’s weight depends on, and anything electrical beyond unplugging the opener.
Safe for you to handle
- Wiping the photo-eye sensors clean. A soft cloth, nothing abrasive.
- Cleaning the tracks with a damp cloth. Only the flat surfaces – not adjusting or bending them.
- Lubricating hinges and rollers with a garage-door-specific lubricant. A thin coat on the metal contact points. Not on the tracks, not on the cables.
- Lubricating the spring coils with a spring lubricant. Apply a light coat to the coils while the door is closed; do not twist, adjust, or touch the winding mechanism at the ends.
- Cleaning the panels and seals. Mild soap and water, and a rubber conditioner on the bottom seal.
- Replacing the batteries in remotes and the wall control. Easy and safe.
- Testing the auto-reverse and sensors with the methods above.
Leave to a technician
- Spring repair or replacement. Any coil, torsion or extension. This is the single hardest safety line in the trade.
- Cable work. Replacing, tensioning, or adjusting a cable.
- Bending, adjusting, or replacing track sections. A misaligned track is a door-fall risk.
- Balancing the door. Requires adjusting spring tension or the lift hardware.
- Opener electrical work. Wiring, force adjustments, travel limits beyond the wall-control test, circuit board repair.
- Hinge replacement on the outer edges, or any hinge attached to a torsion or cable anchor. Sheet metal and spring load, together.
Some garage door openers – including newer Genie and LiftMaster models with smart features – have self-diagnostic lights. Those can tell you something’s wrong, but they don’t mean you can fix it. Use the diagnostic, note the code, and pass it to a technician. For opener-specific work, that’s generally a separate job from the door itself, and garage door opener repair covers the electronics and operator side if your checklist points there.
What to Document and Photograph Along the Way
Most homeowners who call us can’t tell us which part made the noise, how long ago the noise started, or whether the door has always closed a bit heavy. Every one of those answers saves diagnostic time and helps a technician arrive prepared. This section is the documentation habit that separates a homeowner who calls and gets a fast answer from one who calls and needs a second visit.
Here’s what to photograph and date. A phone camera and a notes app are enough.
- The full door, open and closed, from the inside. Two photos per cycle. Once a year is fine; more often if something changes.
- Each spring, close-up. Include the coil ends and the plate they’re anchored to. Note the date. A photo from three months ago is the fastest way to prove a change.
- Each cable, from drum to bottom bracket. Look for fraying and sag; photograph what you see.
- The opener’s model and serial label. Usually on the back or side of the unit. This lets you (and us) confirm parts and remote compatibility before the visit.
- The sensor lights on each side, both on and blinking, if the door is misbehaving.
- The wall control and any smart-home integration if it’s part of the setup. Label what app or hub it connects to.
- The bottom seal and the door’s contact line. Useful when discussing drafts, pests, or water intrusion.
Keep a running note of every unusual sound or movement with the date. When you call, you can say “the door has rattled more since March and the left spring has some rust” instead of “the door has been weird.” That difference lets a technician bring the right parts on the first visit and quote accurately. For new installations or full replacements, this documentation also matters if you’ll be comparing options across Clopay, Amarr, or Wayne Dalton – the dimensions and hardware details matter for pricing. That’s a conversation for garage door installation, and a written measurement walkthrough makes it a short one.
Common Mistakes to Avoid
- Testing the auto-reverse only with the sensors, not the physical contact test. A door that passes the beam test but fails the contact test is still unsafe. Run both, every month. Most advice skips the contact test, and that’s the one that fails silently.
- Lubricating the tracks. A common error. Tracks should be clean and dry – a wet track attracts grit and makes the rollers slip, which is worse than a slightly dry roller. Lubricate the rollers and hinges, not the track surface.
- Using WD-40 as a garage door lubricant on the springs. A lightweight penetrating spray isn’t a long-term lubricant; it evaporates and leaves the metal unprotected. Use a garage-door-specific lubricant on metal contact points, and a dedicated spring lubricant on the coils.
- Bending the sensor brackets to “aim” them. Misaligned brackets cause most false-reversals. The sensor heads are designed to be aimed by loosening and repositioning, not bending the arm.
- Ignoring a door that has gotten harder to lift. A stiff door is not normal wear – it’s usually a spring that has lost tension or a track alignment issue. Both are signs to stop using the door.
- Skipping the pre-freeze lubrication in Flatbush. A door that runs fine in September can jam the first cold morning in November if the hinges and rollers went dry through the summer and the cold hit them stiff. Do the fall pass before the first freeze.
- Calling any generalist for a spring break. Spring work requires the right tools and the training to know how much stored force is still in the cable. Confirm the service handles springs as a specialty. If they subcontract it out, that’s a longer wait and a second vendor.
See the difference
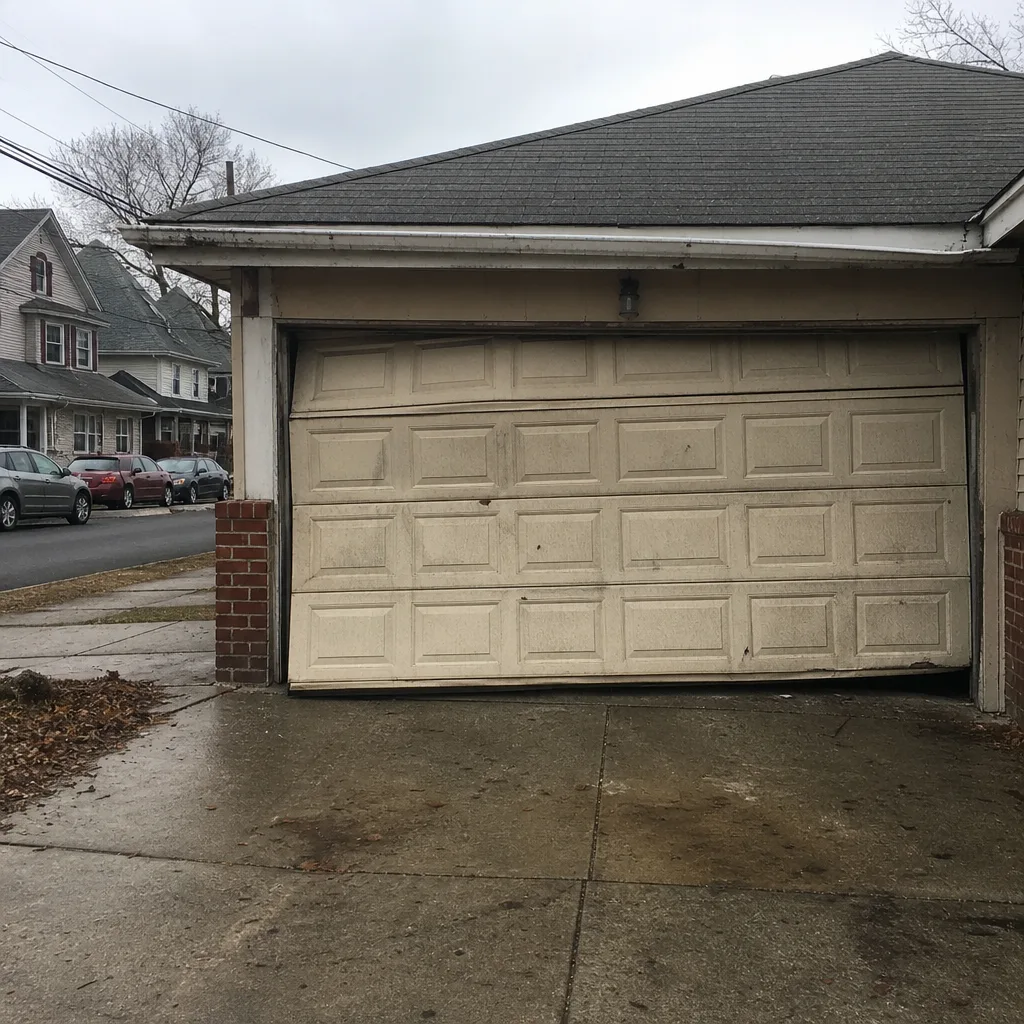 Before
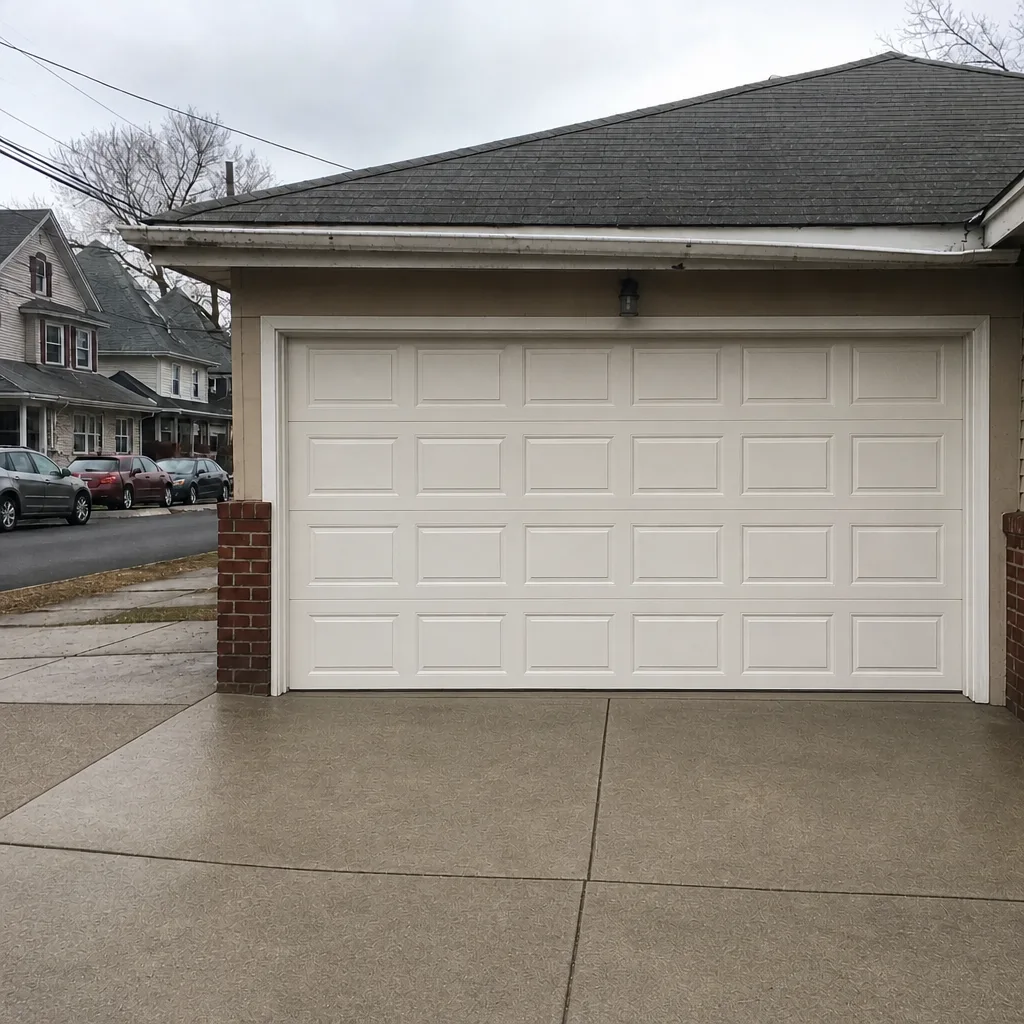 After
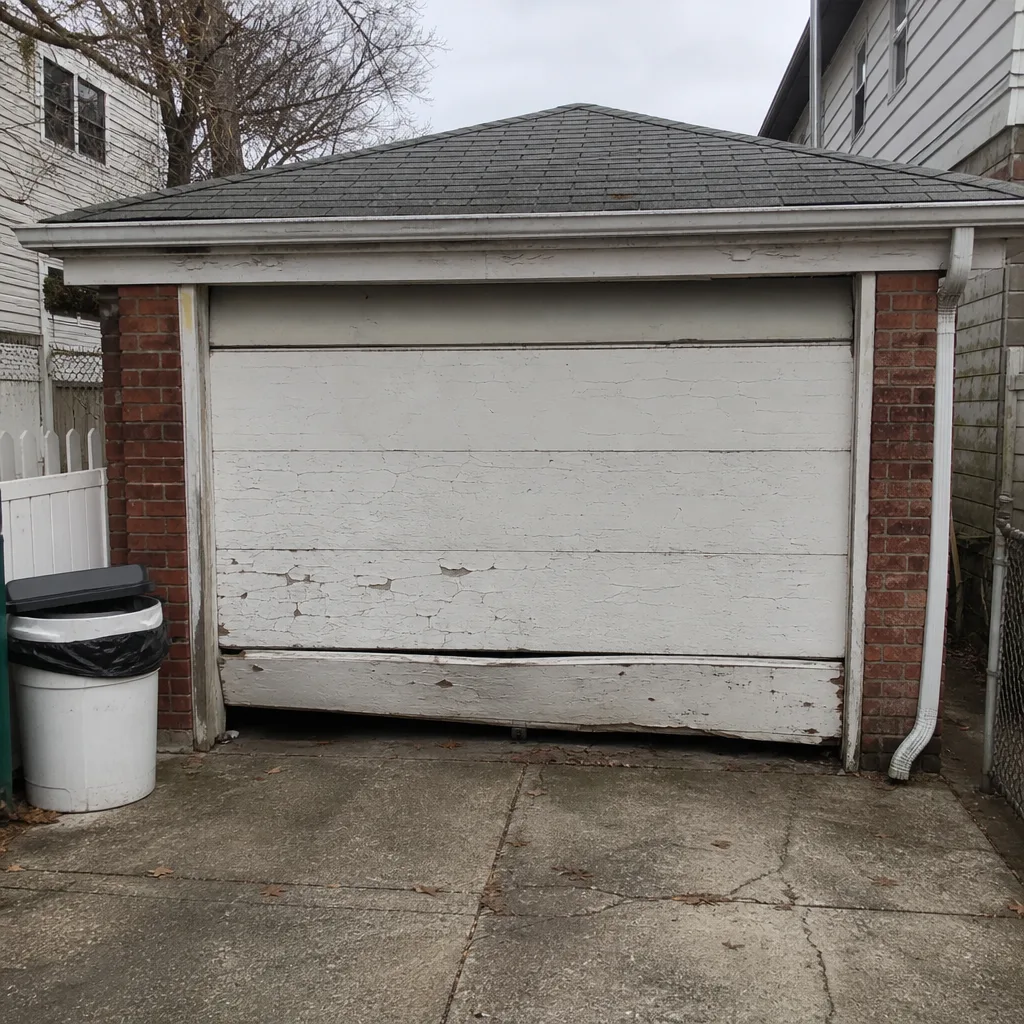 Before
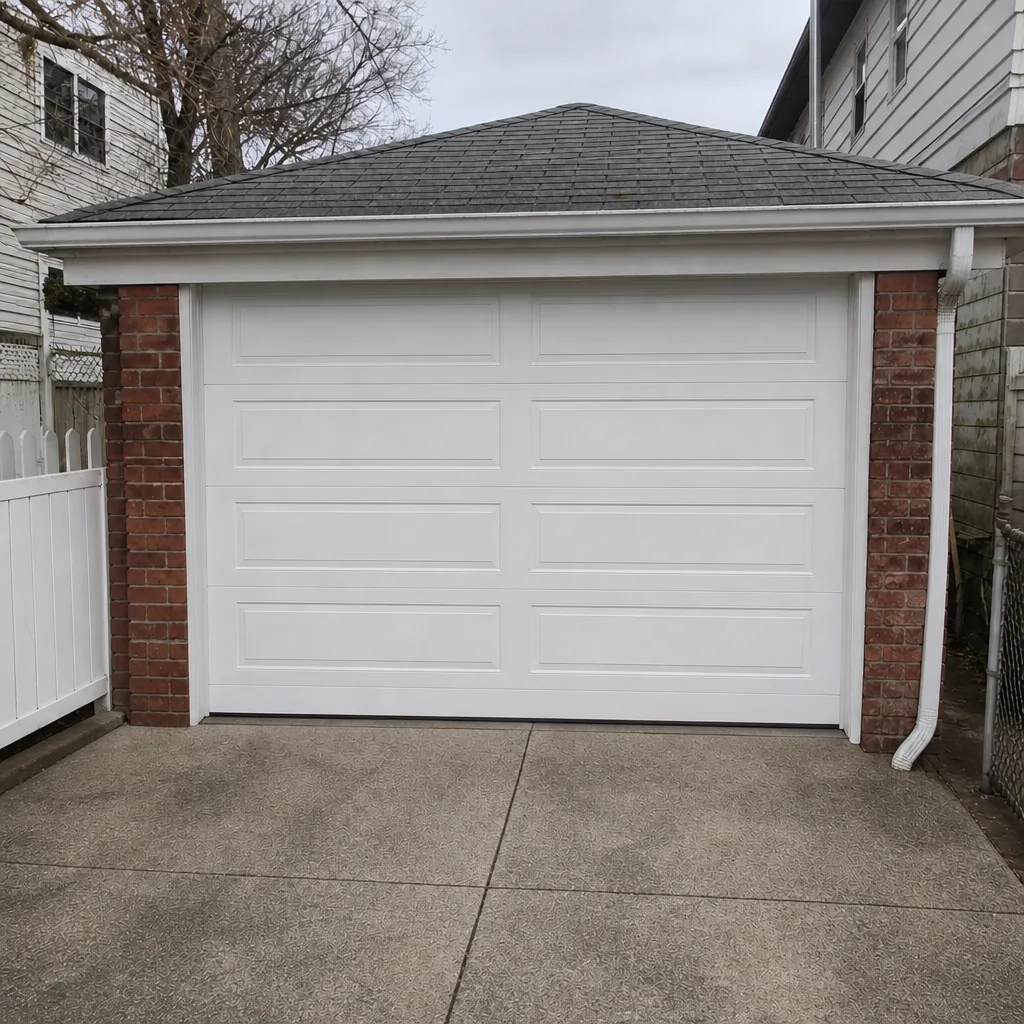 After
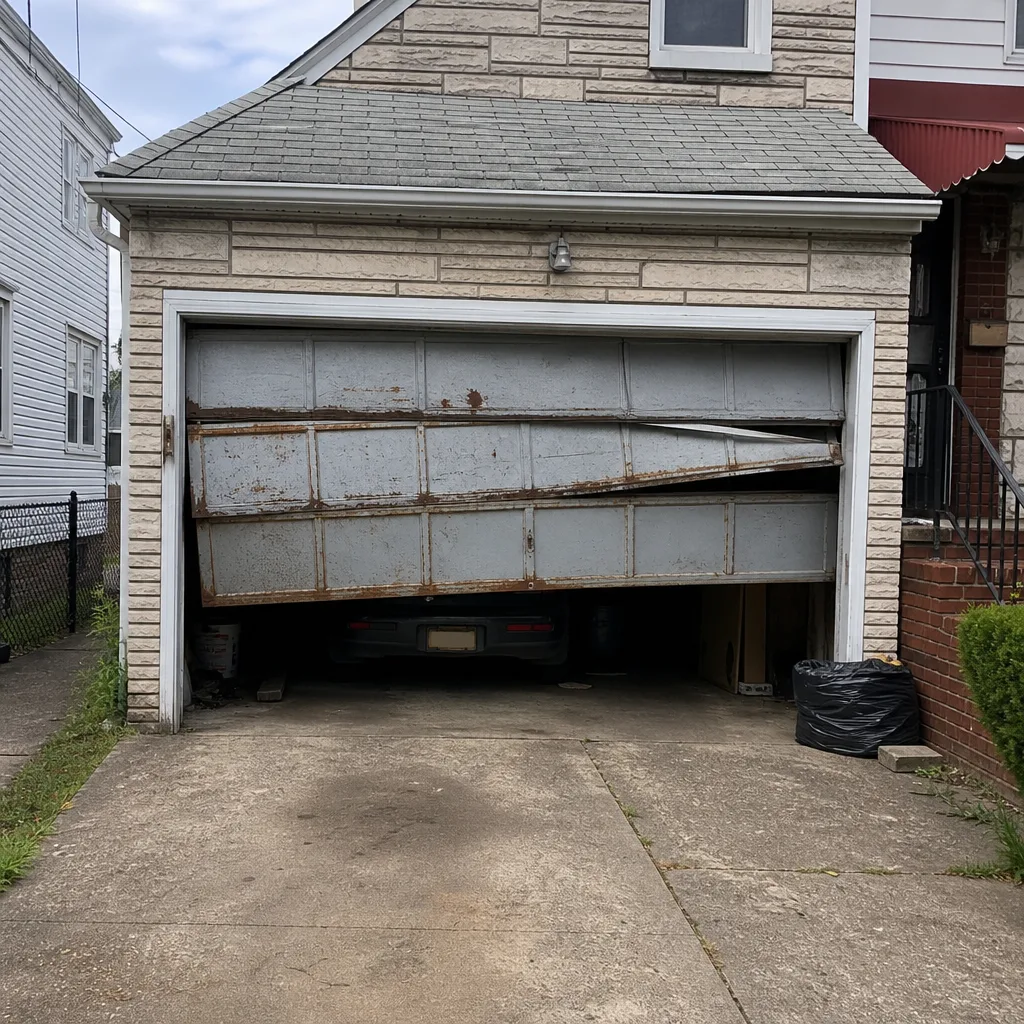 Before
 After
When to Call a Professional
Some problems wait for the scheduled annual inspection. Others don’t. Call for help the same day in these situations: a spring has snapped or looks like it has; the door won’t stay open when you lift it; a cable is frayed, kinked, or sagging; the door has dropped on one side or is running crooked; you hear a loud snap and the door won’t open after; a sensor light is on but the door won’t close; the opener keeps reversing or refuses to travel; or the door is stuck open and you can’t secure the garage. In Flatbush, security gaps matter – a door stuck open is worth a call right away. Garage Door Repair Flatbush offers free estimates in Flatbush – call (855) 765-9251. We answer 24/7. Fast dispatch from 7am to 7pm, Sunday through Friday. Our technicians have up to 14 years of experience with brands including LiftMaster, Chamberlain, Genie, and Clopay, and spring repair is a service we handle as a specialty rather than farm out.
Frequently Asked Questions
Once a month, and always after any change in how the door sounds or moves. Run both the photoelectric sensor test and the physical contact test with an object under the door. A pass on one and a fail on the other means the door isn’t safe until a technician looks at it.
No, and this isn’t a caution we throw around lightly. Torsion and extension springs hold stored force every second, and releasing it incorrectly can cause serious injury. A technician has the winding tools and the training. Your job is to observe, document, and call. If you see a snapped spring or a door that suddenly went heavy, stop using the door and call (855) 765-9251 for a free estimate.
A worn torsion spring typically shows rust flaking on the coils, small gaps opening up along the length, or a slight bend. The door starts to feel heavier and won’t hold position about three or four feet up when lifted by hand. Those are the warning signs; a snap is the failure. Catch the warning stage and the swap is a scheduled job, not an emergency.
Prices for this work depend on the door’s size, spring type, and how the hardware is set up, so the written estimate is the price that stands. We don’t quote from a phone script, and we don’t add on after the fact. Call us for a free estimate; we’ll give you a range and a clear line-item before anyone touches the door. Estimates are free.
A garage-door-specific lubricant on the hinges and rollers, and a spring lubricant on the coils. Not WD-40, not cooking oil, not grease on the track. In Flatbush the fall pass before the first freeze is the one that matters most. Dry hardware and a sudden cold snap are what turn a running door into a stuck one.
No. A new sound is the earliest possible warning, and the cheapest to fix. Note it, check the springs and cables visually, and run the monthly checklist. If the sound persists – especially a grinding, a snap, or a bang at the start of a cycle – stop and call. We work on your brand, and a same-day visit can catch it while it’s still a small job. Call (855) 765-9251; we answer 24/7.
The Bottom Line
A garage door checklist works when it tells you what to look for, not just what to name. Check the door monthly with your eyes and ears, test both safety mechanisms every month, do the fall lubrication pass before the Flatbush freeze, and have a professional inspect the springs, cables, and opener once a year. Know the line: you can clean, lubricate, and photograph; a technician handles anything under tension. And when a sound, a sag, or a stuck door shows up, don’t wait for the schedule – call. That’s the whole system, and it’s what keeps the door working through a Flatbush winter and a Flatbush summer alike. When you’re ready for a repair, a maintenance visit, or a fresh install, garage door repair is where the checklist ends and the work starts – and if you’re sorting out the full picture, start at Garage Door Repair Flatbush. Call (855) 765-9251 for a free estimate and a straight answer on what your door needs next.
Written by the team at Garage Door Repair Flatbush.